Remember this skein, from the wool dyeing tutorial? It's pretty bright, with the lime green, mid-green, turquoise and gold combination. I think I called it rather garish at the time.
Now here it is, in combination with another hand-dyed skein in blues, rapidly becoming a sock. Looks different now, doesn't it? This is so much fun to knit that I may even get to finish BOTH socks this time!
Musings of a dyer and fiber artist from Lord of the Rings and Narnia country, the South Island of New Zealand.
Wednesday, November 29, 2006
Tuesday, November 28, 2006
Full Frontal Nudity
Monday, November 27, 2006
Working Weekend
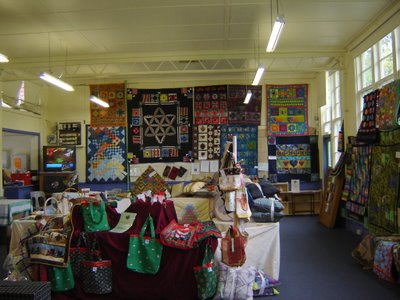
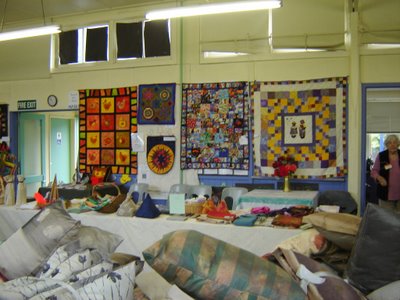
I spent the weekend having a stand at the Lyttelton Quilt Show. It was lovely to catch up with my friends from the quilting group there, as I don't belong to the local club. It's a tiny group, only around 10 members. Here's some photos. That's the club sales table in the middle of the room.
And there's my rather out-of-focus stall.
Wednesday, November 22, 2006
No, really, I AM still a fiber artist
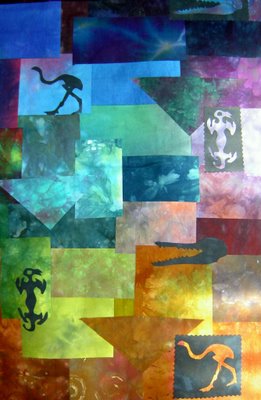
I know I haven't exactly DONE anything in fiber lately...ok, for months....but I swear I haven't actually given it up. I've been asked to send details of what I'm going to bring to the Tutors' Display at the National Quilting Symposium in January. This is rather embarassing, as the work is not actually FINISHED yet. However, I don't let little details like that stop me. I am going to show this diptych, entitled Otago 1 and Otago 2. Otago 1 (above) is made in vibrant hand-dyes, and represents the past of the region. The appliqued shapes are all black, and show extinct or legendary creatures.
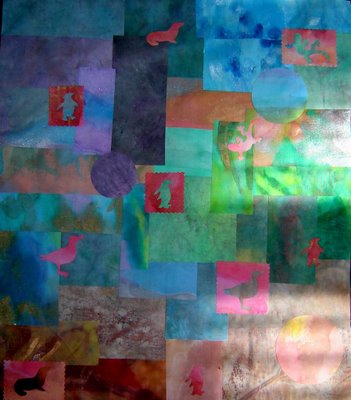
Otago 2 is in more muted painted fabrics, and the appliques are native birds and animals which are found in this, my adopted region. The pieces will be hung side-by-side.
Monday, November 20, 2006
Southern sunset
Sunday, November 19, 2006
Still More Random Fete Pix
I love the stilt walkers. This year, they had helpers.
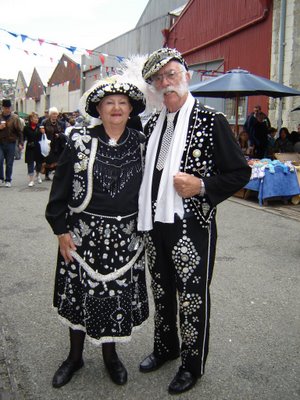
The Pearly King and Queen. They told me they had featured in the tv show "Eastenders".
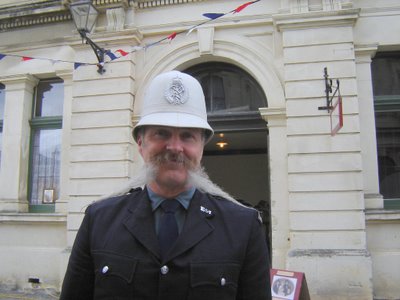
The local community constable, who had entered the Beard and Moustache Growing Contest. I think he won. Yes, his moustaches DO go all the way out past his shoulders.
The Pearly King and Queen. They told me they had featured in the tv show "Eastenders".
The local community constable, who had entered the Beard and Moustache Growing Contest. I think he won. Yes, his moustaches DO go all the way out past his shoulders.
Some Random Pix from the Fete
Saturday, November 18, 2006
Walking in the rain
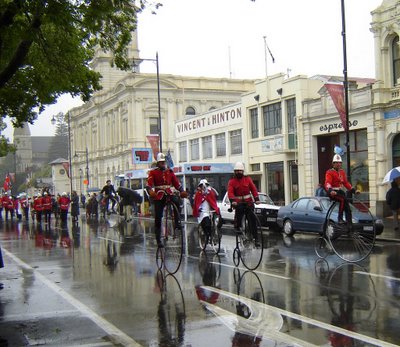
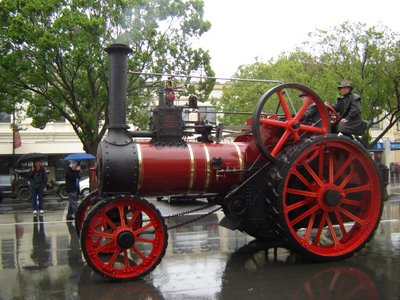
Unfortunately, the rain didn't stop this morning and so the penny farthing races were cancelled. We need the rain here as it gets very dry in summer, so we're not really complaining. However, the Victorian parade went ahead, though I didn't take any photos of the people in costume walking in it, because I was one of them! I did stop for a while towards the end, though, and take pictures of the men riding the penny farthings, and all the traction engines. Love those steam-powered things! That's Alf's Imperial Army coming in the rear of the first photo. They are not a serious group, and often skip and jump and march backwards.
This is one of the prettier traction engines. The back wheels are about 6 feet (2 metres) high.
Friday, November 17, 2006
Going Victorian Part 2
Ok, here's the full length view. I'm not sure why the Victorians decided to emphasise women's bottoms with bustles and so on; for heaven's sake, my butt is big enough already. There is a whole Victorian wardrobe here, where I hired this outfit, but I've decided to join the Victorian Sewing Circle and make my own for next year. And a corset!!! I have some patterns, but these outfits are not the sort of thing you can whip up in a weekend. For example, I was going to make myself a can-can skirt (hey, not ALL the Victorians were prim and proper!). I cut the pattern out, and the ruffle piece said "Cut 47". 47 pieces of ruffle! No wonder the pattern takes about 11 yards of fabric. For each layer. I gave up at that point.
Keep watching for more photos from the festival.
Tuesday, November 14, 2006
Going Victorian
Monday, November 13, 2006
Sunday, November 12, 2006
Part 3 (this is in reverse, so go read the first part first)
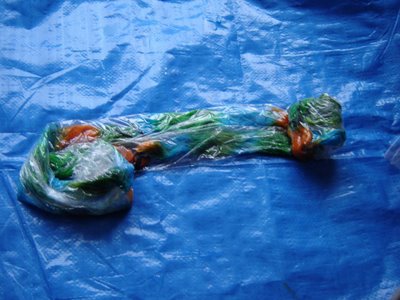
Place your wrapped skein in an ice-cream or similar plastic container (but not one you eat from). Microwave for 2 minutes on high, let sit for 2 minutes, then microwave for 2 minutes on high again. It's recommended that you don't use the family microwave for this, but if you're only doing an occasional skein, I doubt that it'll kill anyone. However, you've been warned. You're supposed to wait till it cools, but who has that amount of willpower? I toss the bundle straight into the sink, into cold water, and rip off the wrap. This can burn so be careful. There should be no dye bleeding out, it'll all be absorbed into the wool. Squeeze the excess water out gently, then place it on your chair to photograph so your butt will get wet when you sit down next.
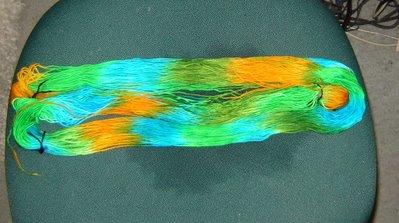
At this point, you may be thinking it looks pretty wild and garish, and why did you put those colours together? Rest assured that when it dries and you reskein it, it'll look much better.
Her are the other 2 skeins I did.
They're all hanging up to dry (on a towel on the back of a chair, if you have to know), so I'll post a photograph of how they look when they're all dry and beautiful.
Part 2
Mix 1/2 teaspoon acid dye with a small amount of very hot water, stir, then add 2 tablespoons white vinegar (not malt). Top up the cup with more water. Dilute for paler shades. Lay out a piece of plastic wrap on your plastic. One piece is enough for a skein of this size. Start apllying dye. You can apply the colours randomly, or in order. Here's the skein with 2 greens, turquoise and gold. Later skeins are painted differently. Turn the skein over as well to make sure the dye penetrates underneath. When completed, roll up the plastic wrap from side to side, and then end to end. don't strangle your skein though! It doesn't have to be airtight.
Handpainting wool tutorial
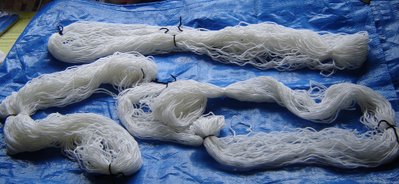
The tutorial will be posted in several lots, as Blogger doesn't like more than about 4 photos at a time. If your wool is in balls, put into skeins (I use a spinner's niddynoddy for this) and tie in 4 places. I am using 50 gram (2 oz) skeins here of 4 ply baby wool. Cover your table with plastic.
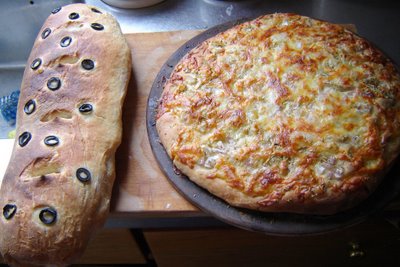
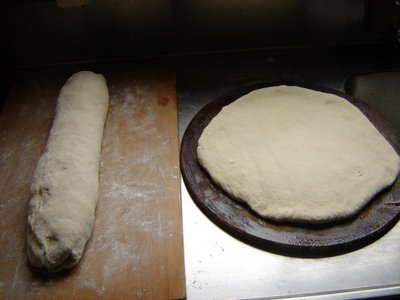
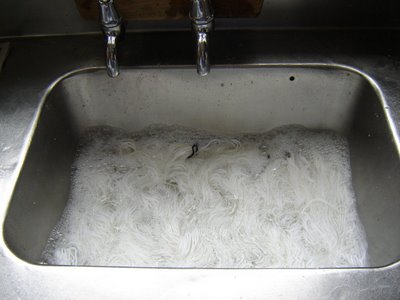
If your kitchen is being used for other things (like my sourdough bread), do that first and move it out of the way! Soak the skeins in warm water with a wee bit of detergent added, just enough to wet them. This helps the dye to penetrate. You can handpaint the wool dry, but it's a lot more work.
Get your equipment ready. I use disposable plastic cups to mix the dye in, and I paint with foam brushes.
Subscribe to:
Posts (Atom)